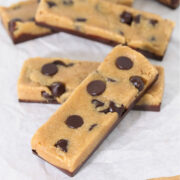
This perfect bar recipe is a homemade, no-bake peanut butter chocolate bar made with almond flour, vanilla protein powder, and chocolate chips. Soft, doughy, and freezer-friendly.
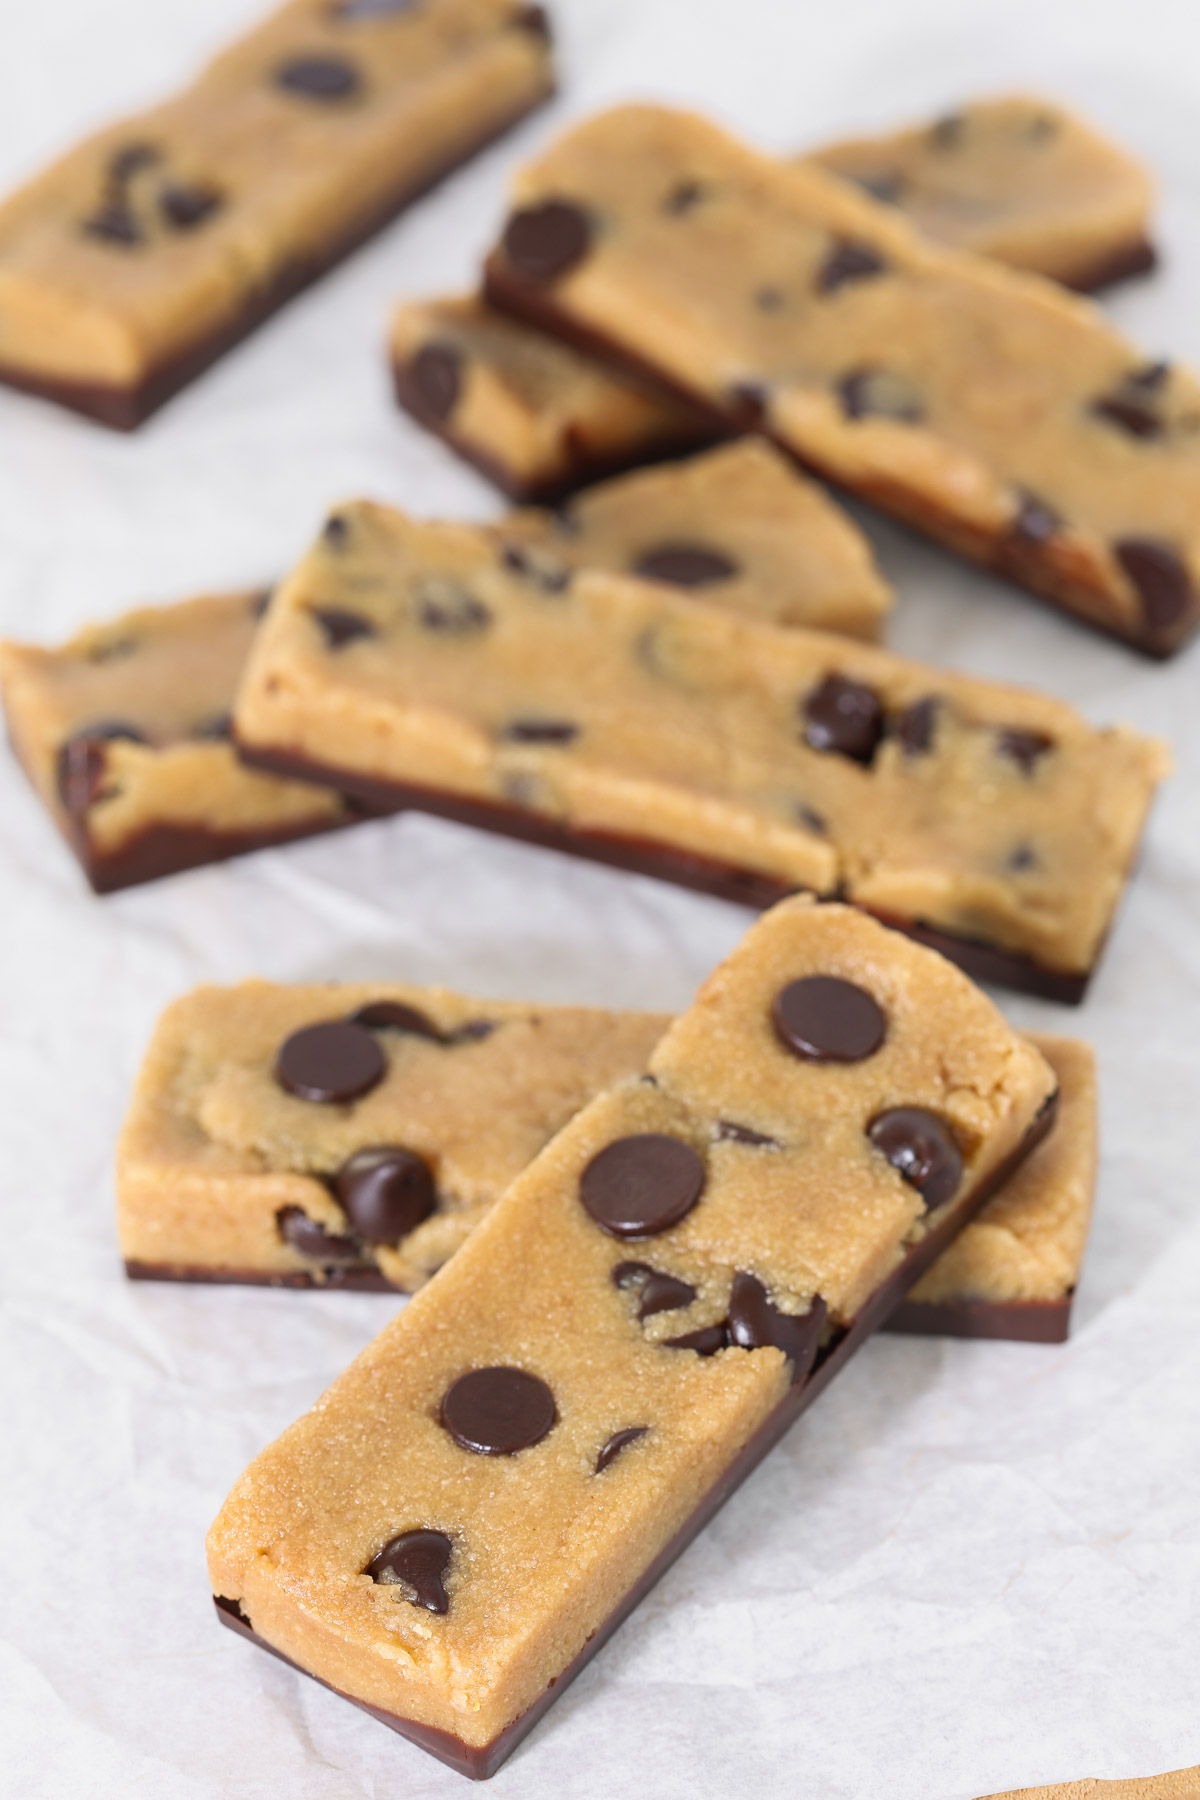
I was not expecting the texture to be this good. Soft, peanut buttery, and perfect straight from the freezer.
- Christy K.
Jump to:

Bailey's Thoughts ...
I really love Perfect Bars, but I do not love how quickly they disappear around our house or how much they cost. These homemade bars solve both problems because you can make a big batch, keep them stocked in the freezer, and eat them when you want instead of rationing them. They have the same soft, doughy peanut butter chocolate texture as their store-bought counterparts, but at just a fraction of the price.
Peanut butter does most of the heavy lifting here, giving these no-bake bars a rich, familiar flavor. The dough comes together quickly, gets pressed into shape, and sets up in the freezer. Chocolate chips scattered throughout add a little sweetness and help to turn a simple mix of pantry ingredients into something you look forward to.
Silicone granola bar molds make this recipe easier and more consistent. They are inexpensive, available on Amazon for under five dollars each and give you perfectly shaped bars every single time. No slicing required. If you do not have molds, a parchment-lined loaf pan works just fine. Store the bars in the freezer once they are set. The texture straight from the freezer is just right.
Bailey
P.S. If you love these, you should try my Baked Peanut Butter Chocolate Protein Bars. They're a more traditional take on a granola bar, but with the same flavors.
Ingredients + Substitutions

Almond flour: This forms the base of the bars and gives them that soft, doughy texture without any baking. Look for finely ground almond flour, not almond meal, which is coarser and can make the bars feel gritty.
Vanilla protein powder: Adds protein and structure while lightly sweetening the bars. This recipe was tested using Clean Simple Eats vanilla protein powder. Protein powders vary a lot by brand, so you may need to make small adjustments to the liquid depending on the protein powder you choose.
Peanut butter: This is the main flavor and fat source, giving the bars richness and structure. The recipe was tested using regular creamy peanut butter. If you prefer to use natural peanut butter, see the notes section for guidance.
Honey: Sweetens the bars and helps bind everything together. Honey mixes easily and keeps the texture smooth. Maple syrup can be used in the same amount if that’s what you have on hand.
Milk: Loosens the dough just enough so it mixes easily and presses smoothly into molds.
Vanilla extract: Rounds out the flavors so the bars taste more like a treat than a protein snack.
Coconut oil: Helps the bars set properly and gives them the right texture straight from the freezer. Use coconut oil that is solid at room temperature and melts when heated. Always-liquid coconut oil will not work the same way because it will not firm up in the freezer.
Mini chocolate chips: Distribute evenly throughout the dough and melt slightly into the bars, giving better chocolate flavor in every bite. Regular chocolate chips work fine, but minis blend in more smoothly.
See recipe card for quantities.
Instructions

- Prepare the chocolate base (optional). Melt the chocolate with coconut oil and stir until smooth. Then, spread into a thin, even layer into the silicone bar molds. Transfer to the freezer to set while you prepare the dough.

- Mix the dry ingredients. In a large bowl, stir together the almond flour and protein powder until evenly combined.

- Add the wet ingredients. Add the peanut butter, honey, milk, vanilla, and coconut oil to the bowl. Stir until a thick dough forms.

- Fold in the chocolate chips. Gently mix in the chocolate chips, distributing evenly throughout the dough.

- Fill the molds. Divide the dough evenly between silicone bar molds, pressing firmly and smoothing the tops into an even layer.

- Freeze and store. Freeze until fully set, then remove the bars from the molds. Store the bars in freezer until ready to eat.
Top Tip
No molds needed. A parchment-lined 8x8 inch pan works just as well. Press the mixture firmly into an even layer so the bars hold together cleanly when sliced.
Equipment
Silicone granola bar molds: Create evenly sized bars with clean edges and no cutting. Helpful but not required.
Variations
Gluten-Free: Already is! Almond flour makes these naturally gluten-free.
Vegetarian: Already is!
Dairy-Free: Use a non-dairy milk and dairy-free chocolate chips. Make sure your protein powder is dairy-free as well.
Nut-Free: Use sunflower seed butter in place of peanut butter. The flavor will change slightly, but the bars will still hold together and freeze well.
Vegan: Swap the honey for maple syrup and use a vegan protein powder, non-dairy milk, and dairy-free chocolate chips.
Feed a Crowd: Double the recipe and press it into two loaf pans or multiple molds.
Make-Ahead: These bars are ideal for make-ahead prep. Store them in the freezer and grab as needed; they stay firm but easy to eat straight from frozen.
Storage
Refrigerate: Wrap individual bars in parchment paper or plastic wrap and store in an airtight container in the refrigerator for up to 5 days. The bars will be softer when stored this way.
Freeze: Wrap each bar in parchment paper or plastic wrap, then transfer to an airtight, freezer-safe container. Store in the freezer for up to 3 months. The bars do not freeze solid and can be eaten straight from the freezer.
FAQ
No. The peanut butter, honey and coconut oil keep the bars firm, but easy to bite straight from the freezer.
Yes. A parchment lined 8x8 inch pan works just as well. Press the mixture firmly into an even layer, freeze until set, then slice into bars.
Yes. The chocolate base is optional and not included in the nutrition information. The bars are delicious and hold together well without it.
Protein powders vary by brand and absorb liquid differently. If the dough feels dry, add a small splash of milk and mix again until it presses together easily.
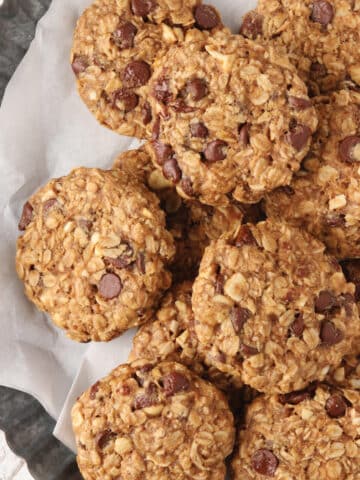
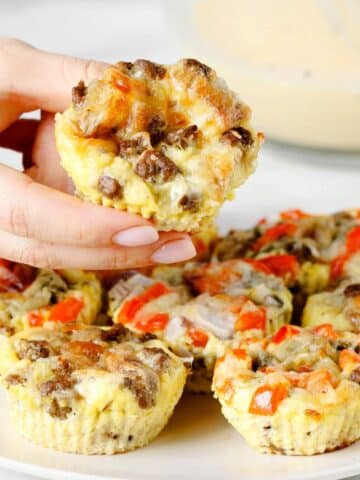
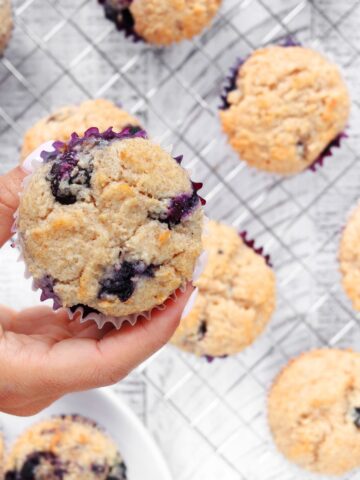
Related
Looking for other recipes like this? Try these:


Pairing
These are my favorite dishes to serve with peanut butter chocolate Perfect Bars:


Recipe
Homemade Peanut Butter Chocolate Perfect Bar Recipe
- Total Time: 15 minutes
- Yield: 8 bars 1x
Description
This perfect bar recipe is a homemade, no-bake version inspired by the peanut butter chocolate Perfect Bar, made with simple ingredients and a soft, doughy texture that stays sliceable straight from the freezer.
Ingredients
- almond flour (1 cup | 96g)
- vanilla protein powder (½ cup | 60g)
- peanut butter, slightly warmed (¼ cup | 64g)
- honey (3 tablespoons | 63g)
- 2% milk (¼ cup | 60ml)
- vanilla extract (1 teaspoon | 5ml)
- coconut oil, liquid form (1 tablespoon | 14g)
- mini chocolate chips (½ cup | 85g)
Optional Chocolate Base (not included in nutrition):
- chocolate chips (¾ cup | 128g)
- coconut oil (1 ½ tablespoons | 21g)
Instructions
- If making the chocolate base, melt chocolate chips (¾ cup) and coconut oil (1 ½ tablespoons) together in a microwave-safe bowl in 20-second increments, stirring between each, until smooth. Spoon a thin, even layer of chocolate into silicone granola bar molds. Transfer to the freezer to set while preparing the dough.
- In a large bowl, combine almond flour (1 cup) and vanilla protein powder (½ cup) and stir until evenly mixed.
- Add peanut butter (¼ cup), honey (3 tablespoons), 2% milk (¼ cup), vanilla extract (1 teaspoon), and coconut oil (1 tablespoon). Stir until a thick dough forms and holds together easily when pressed.
- Fold in mini chocolate chips (½ cup) until evenly distributed throughout the dough.
- Remove the molds from the freezer once the chocolate layer is firm. Divide the dough evenly between the molds, pressing firmly and smoothing the tops into an even layer.
- Return the molds to the freezer and freeze for 1 to 2 hours, or until fully set.
- Once firm, remove the bars from the molds and store in an airtight container in the freezer.
Notes
No Molds? If you don’t have silicone granola bar molds, this recipe can easily be made in a loaf pan. Line a standard 8x8 inch pan with parchment paper, leaving an overhang on the sides for easy removal. If adding the chocolate base, spread the melted chocolate evenly across the bottom of the pan and freeze until set. Press the peanut butter mixture firmly on top of the chocolate layer, smoothing it into an even layer and pressing well so the bars hold together. Freeze until fully set, then lift the slab out using the parchment paper and slice into 8 bars.
Peanut Butter: This recipe was developed using regular peanut butter, not natural peanut butter with oil separation. If using natural peanut butter, you may not need the full amount of coconut oil. Start by omitting the coconut oil, then add it back 1 teaspoon at a time only if the dough feels crumbly or dry.
Nutrition Info: An estimate and will vary based on the specific ingredients used. Protein content may change depending on the type and brand of protein powder.
Protein Powder: Results may vary depending on the protein powder used. This recipe was tested with Clean Simple Eats vanilla whey protein, which absorbs moisture differently than plant-based or collagen proteins.
- Prep Time: 15 mins
- Category: Breakfast, Snack
- Method: No-Cook
- Cuisine: American
Nutrition
- Serving Size: 1 bar
- Calories: 235
- Sugar: 12.5 g
- Sodium: 66.2 mg
- Fat: 10.6 g
- Carbohydrates: 18 g
- Protein: 8.9 g
- Cholesterol: 1.5 mg


Lori H.
These are so tasty, thank you for the recipe. The peanut butter mix didn’t adhere to the chocolate layer on the bottom, do you know why that would’ve happened? Thanks.
Bailey Sissom
I’m so sorry that happened. I did not run into this when testing, but small differences in protein powder and peanut butter can affect how the peanut butter layer sets. Some protein powders absorb more than others, and natural peanut butter can be oilier, which can make the layers more likely to separate once chilled.
I would love to know which protein powder and peanut butter you used if you remember. I may need to add additional notes to the recipe.