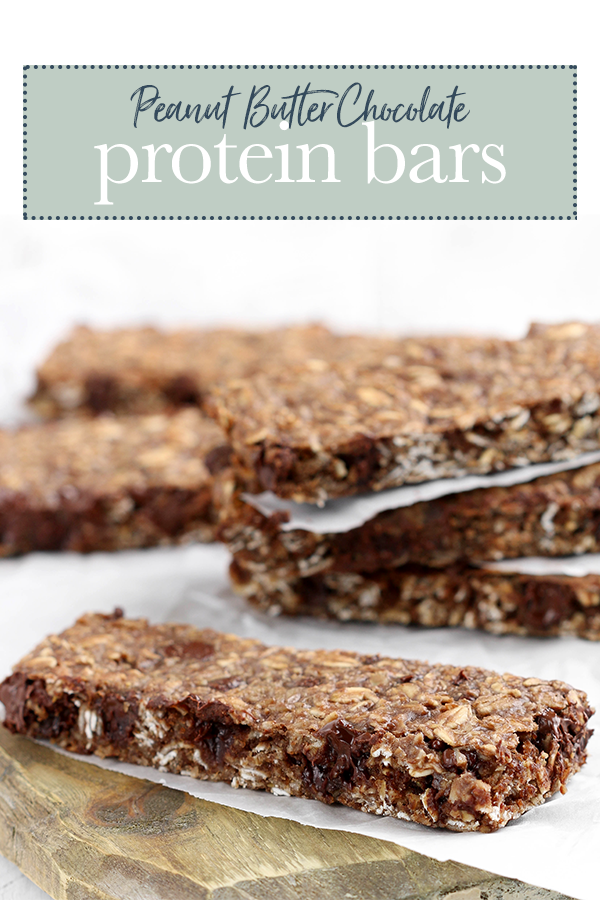
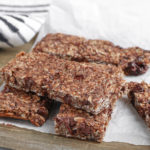
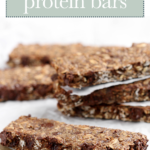
Healthy Homemade Peanut Butter Chocolate Protein Bars are simple to make, requiring 9 basic ingredients and about 15 minutes hands on prep. Perfect for a grab n' go snack or breakfast.
Pin Healthy Homemade Chocolate Protein Bars for later!
Peanut Butter Chocolate Protein Bars are one of my favorite foods to prep in advance and refrigerate, or freeze for later. Freezer smoothie packs, meaty marinara, and breakfast burritos also rank high in my list.
Made with whole food ingredients like rolled oats, protein powder, honey and All. The. Peanut. Butter, these aren't your average store-bought breakfast bars. These guys are salty, naturally sweetened and studded with optional (but not really optional) chunks of dark chocolate.
PRO TIP ... double the recipe. 1 batch won't last long.
Let's do this!
How To Make Homemade Peanut Butter Chocolate Protein Bars:
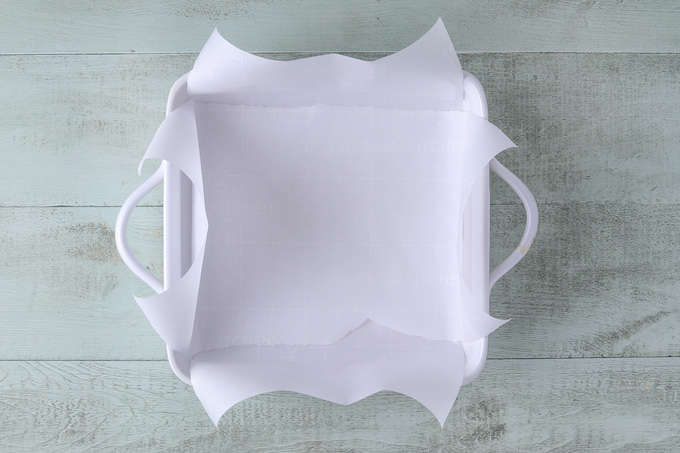
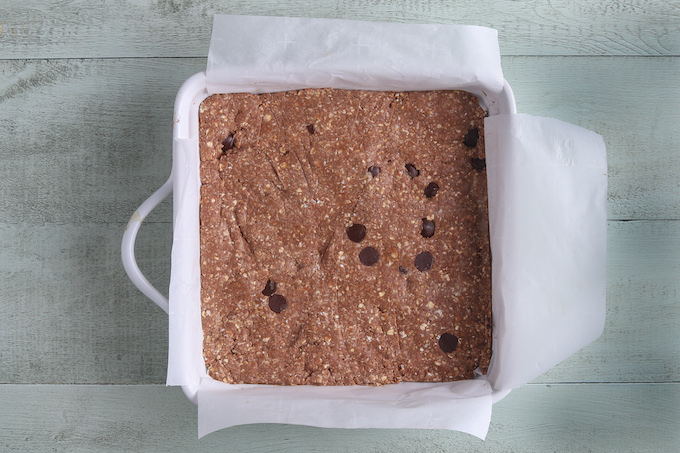
Step 1: Preheat the oven and prepare an 8x8 inch baking pan by covering it in cooking spray and then lining with parchment paper.
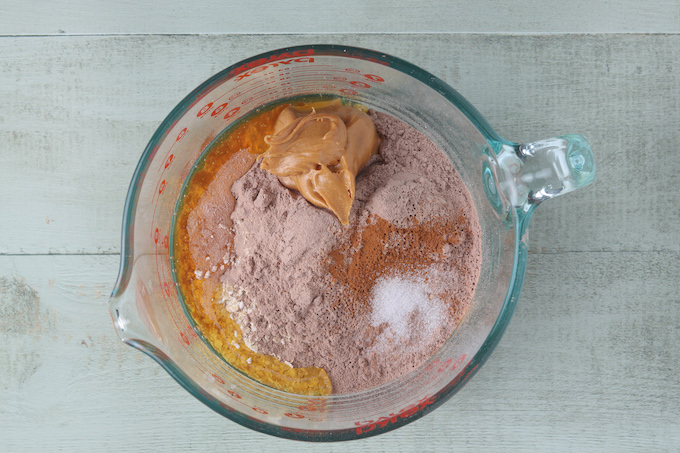
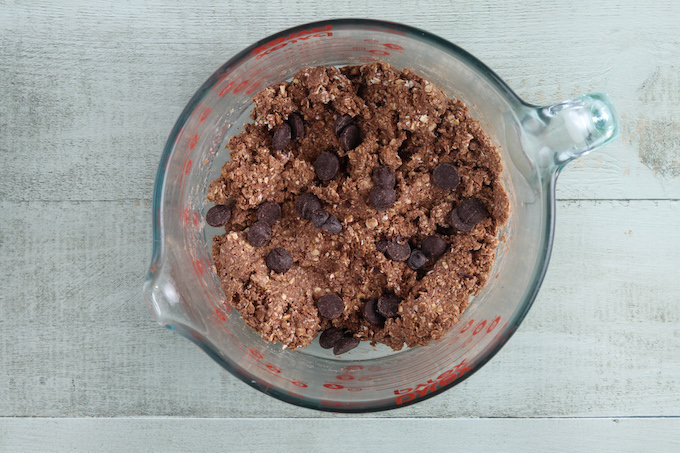
Step 2: Combine all the ingredients in a large bowl and MIX, MIX, MIX.
Step 3: Add in those chocolate chips (***optional).
Step 4: Pour batter into prepared baking dish and spread the mixture evenly. Bake for 20 minutes.
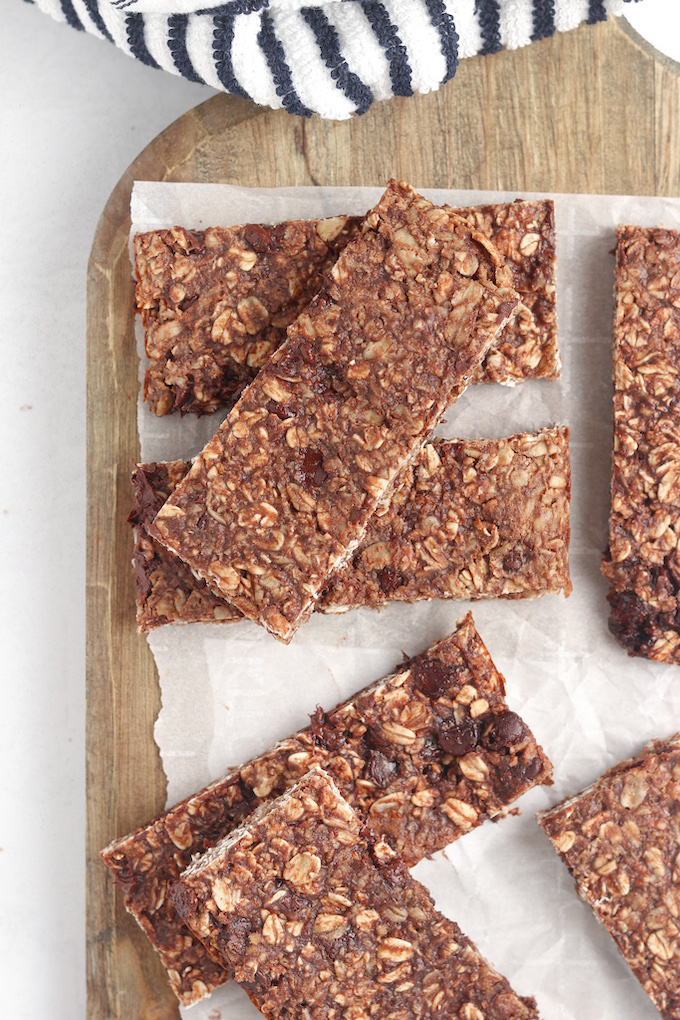
Step 5: Allow bars to cool before slicing and serving.
Tips for making Peanut Butter Chocolate Protein Bars:
- Don't skip on lining the pan with parchment paper. These bars are very sticky and can be difficult to get out of the pan if this step is skipped.
- When pressing the bars into the pan, wet your hands or rubber spatula. This keeps the batter from sticking. I frequently "re-wet" my hands throughout the process.
- Make sure the edges are pressed firmly into the pan. If you don't press the batter tightly into the pan the edges and corners will crumble when you slice the bars.
- Double the recipe. It doesn't take very much effort and this recipe only makes about 9 bars.

Troubleshooting and FAQ's: Peanut Butter Protein Bars
CAN PROTEIN BARS BE MADE IN ADVANCE?
Yes. These bars will keep in the refrigerator for up to 5 days. I wrap them individually in parchment or plastic wrap and then store them in a container with a lid.
CAN HOMEMADE BARS BE FROZEN?
They can. I prepare them the same way as described above, but simply store the container in the freezer instead of the refrigerator. This is my preferred method for storing these bars.
CAN I SUBSTITUTE VANILLA PROTEIN POWDER (OR ANOTHER FLAVOR) FOR THE CHOCOLATE?
You can. I love mixing this recipe up a little and using vanilla. You can get as creative as you like.
MY PROTEIN BARS ARE DRY AND CRUMBLY. WHAT HAPPENED?
Every protein brand varies. You may need to adjust the amount of liquid (milk) that you add to compensate for your particular brand. The bars should not be "soupy," but should easily press into the pan. I go for a consistency between play-dough and clay.
Another reason bars may be dry is if you used "regular peanut butter." It is important that you use NATURAL peanut butter. The only ingredients should be peanuts and salt. If you don't have this on hand, plan to up your liquid by a tablespoon or two.
WHAT TYPE OF PROTEIN DO YOU RECOMMEND?
I used Beverly UMP Ultimate Muscle Protein- Chocolate flavor when writing this recipe. Full disclosure, I haven't tried a lot of different protein powders. This is the one that Joe thinks tastes best so it is what I have always had on hand.
What Substitutions Can I Make?
QUICK OATS: If you don't have quick oats on hand, you can use regular oats instead. Just place them into a blender or food processor and give them 3-5 quick "chops."
PROTEIN POWDER: I have only used Beverly, however... I would imagine that the recipe can be adapted to your powder of choice. Just be aware of the consistency of the bars. Too wet, add some additional oats. Too dry, add a little extra milk. Feel free to try different flavors as well. It won't impact the recipe.
PEANUT BUTTER: You can sub out the peanut butter for almond butter. I think sunflower butter would work as well, but I have not tested. Any nut butter used should be "natural." This keeps the consistency of the bars from being too thick.
Watch Us Make Healthy Homemade Peanut Butter Chocolate Protein Bars:
Recipe
How To Make Healthy Homemade Peanut Butter Chocolate Protein Bars.
- Total Time: 35 minutes
- Yield: 9 bars 1x
Description
Healthy Homemade Peanut Butter Chocolate Protein Bars are simple to make, requiring just 9 basic ingredients. Perfect as a grab n' go snack or breakfast!
Ingredients
- 2 cups quick oats
- 2 scoops (40 g) chocolate protein powder
- 1 tsp. cinnamon
- ½ tsp. salt
- ¼ cup NATURAL peanut butter
- ¼ cup honey
- ½ cup almond milk
- 1 tsp. vanilla extract
- ⅓ cup dark chocolate chunks (**OPTIONAL)
Instructions
1. Heat oven to 350 F and prepare an 8x8 inch baking dish by covering with cooking spray and lining with parchment paper. Set aside.
2. In a large mixing bowl, combine oats, protein powder, cinnamon, salt. Stir. To the same mixing bowl, add peanut butter, honey, almond milk and vanilla. Mix until fully incorporated. Fold dark chocolate chunks into the batter.
3. Pour mixture into the prepared baking dish and use slightly damp hands to press firmly agains the edges. Pay particular attention to the corners. After pressing the bars into place, I like to use a damp rubber spatula to ensure a smooth top layer and smooth edges.
4. Bake for 19-21 minutes, until edges begin to crisp. Remove from oven and cool completely before removing from the pan. Use a sharp knife to cut into individual bars. Serve immediately OR .. wrap individually in parchment paper and store in an air tight container that has been placed in the refrigerator or freezer.
- Prep Time: 15 minutes
- Cook Time: 20 minutes
- Category: Breakfast
- Method: Oven
- Cuisine: American
Nutrition
- Serving Size: 1 bar
- Calories: 201
- Sugar: 13.4 g
- Sodium: 170.5 mg
- Fat: 6.7 g
- Carbohydrates: 27.6 g
- Protein: 7.3 g
- Cholesterol: 0 mg
Posts like How To Make Homemade Peanut Butter Chocolate Protein Bars:
- Homemade Protein Bars (NO Protein Powder)
- 3-Ingredient "Cashew Cookie" Lara Bars
- Healthy No-Bake Cereal Bas for Kids
- Peanut Butter Chocolate Protein Shake
- To Die For Blueberry Protein Muffins
Let’s Be Friends:
You can find Simply Sissom on Instagram where I share even more recipes (some that aren’t on the blog), behind the scenes pics and videos AND tips and tricks to make healthy eating realistic for your busy family.

Bailey Sissom
Hi Bob. You make a valid point. Thanks for bringing this up! I have it on my to do list to update the recipe.
Beck
I used about half the honey and almond protein powder instead of chocolate. This makes the chocolate definitely not optional 😃, but they're really great if you're not a big fan of sweets. Thank you for these excellent recipes! So glad I found your blog.