Turn your plain cookies into spooky mummy cookies with just a few simple steps. Start with your favorite cut-out sugar cookie recipe, whip up some buttercream, and follow along to make a fun, festive treat that’s perfect for Halloween season.

"My daughter had a blast making these mummy cookies with me! She loved adding the candy eyes and helping to pipe the mummy bandages with the piping bag. It was the perfect Halloween activity. "
- Jayla T.

Bailey's Thoughts ...
Fall baking? The best. Cool air, Halloween coming, and spooky treats on repeat. I'm always in. Mummy cookies are top of the list. Kids go crazy for them.
I teach kids' baking classes, and holiday ones always sell out first. After making these with nearly 100 kids, here's what I've learned:
Don't overthink it. Candy eyes go on, and that's it. Touch them again and you'll just smear the icing.
Keep the buttercream soft. It has to flow. Too stiff? The bandages rip. That's when kids lose it.
Hosting a party? Keep a few extras off to the side. Let the kids decorate those when you're done so your main batch stays party ready.
Cookie turned out scary in the wrong way? No stress. Scrape it off and start again.
-Bailey
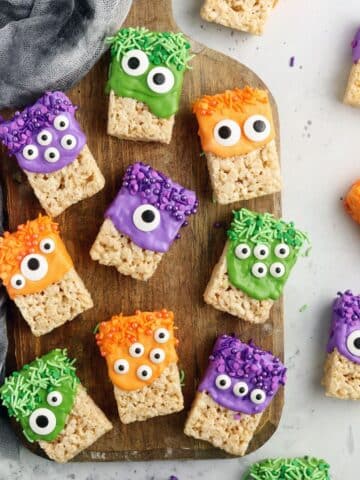
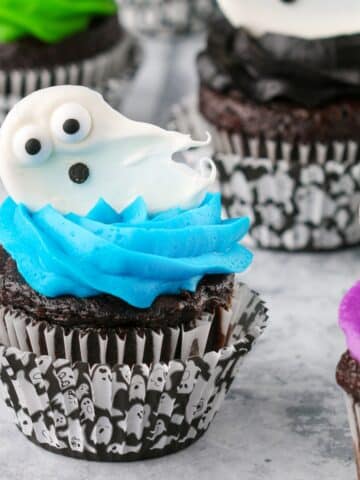
P.S. - If you're looking for more easy Halloween crowd pleasers, try my Halloween Ghost Toppers or Monster Rice Krispie Treats. Both are quick, simple, and disappear fast.
Ingredients/Equipment
Some of the links below are affiliate links. This means that I may earn a small commission if you purchase. I linked the product I used for convenience, but Amazon is often more expensive than your local craft store.
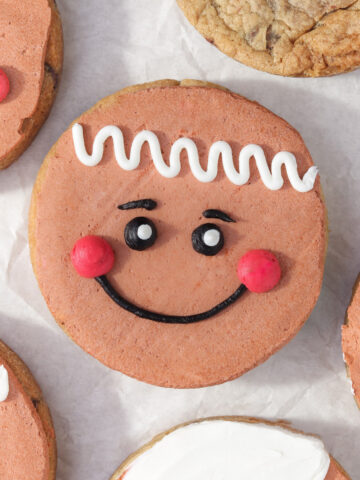
Prepared gingerbread man shaped cookies - These are your mummy base. Use your favorite cut-out cookie recipe and a gingerbrerad man cookie cutter. I used this cookie cutter.
Prepared white buttercream icing - For the mummy bandages. Bring it to room temperature so it flows smoothly from the piping bag but still holds it's shape. Store bought works, or try this vanilla buttercream recipe.
Decorator tip - I like the Wilton #104 petal tip and Ateco 45 flat tip for creating the bandages.
Pastry bag - for baking with kids, I use big 18" bags so the frosting doesn't squeeze out the top.
Black decorator icing - easiest way to get a rich, dark color with the right consistency.
Mini candy eyeballs - The mini size is perfect for giving your mummies those spooky, adorable eyes.
Instructions

- Fill your pastry bag. Fit it with a piping tip and load it up with white buttercream.

- Make the face. Use black icing to draw a little football shape for the face. Stick 2 candy eyeballs in the center.

- Add the bandages. Pipe white icing across the face and body in different directions until the cookie looks wrapped. Smooth out messy edges with a clean finger.

- Finish the batch. Keep going until all your mummies are decorated. Mess one up? Wipe of the icing and redo it.
Top Tip
Practice first. Grab a sheet of parchment paper and test out your piping before you touch the cookies. it helps you get the icing flow right and saves you from messy mummies.
Storage
Refrigerate: Store decorated cookies in a single layer in an airtight container for up to 4 days. If stacking, place a sheet of parchment paper between layers to protect the icing.
Freeze: These cookies freeze well undecorated. Store baked, cooled cookies in an airtight, freezer-safe container for up to 2 months. Thaw at room temperature before decorating. Once decorated, freezing isn't recommended because the candy eyes will bleed and run.
FAQs: Mummy Cookies
The buttercream should be at room temperature and have a medium consistency, smooth enough to flow from the piping bag but thick enough to hold its shape. If it’s too stiff, add a tiny bit of milk. If it’s too runny, add more powdered sugar.
Yes, you can use royal icing or cream cheese frosting as alternatives. Royal icing will harden and create a more defined look, while cream cheese frosting adds a tangy flavor.
Freezing is not recommended as it can affect the appearance and texture of the decorations. It's best to store them at room temperature and consume within 3-5 days.
Add the candy eyes right after the black icing, then leave them alone. Trying to adjust them will result in smudges.
Related
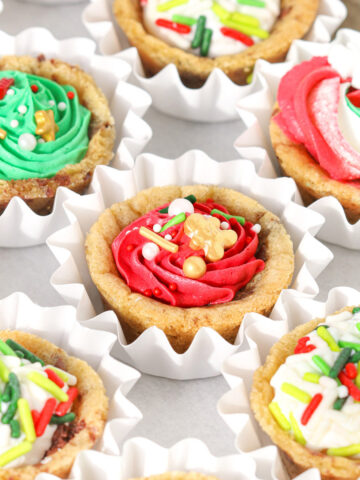
Looking for other festive treats? Try these.
Recipe

How To Make Mummy Cookies for Halloween (Easy Recipe)
- Total Time: 35 minutes
- Yield: 12-18 cookies 1x
Description
Mummy Cookies are the ultimate Halloween treat — soft cut-out cookies decorated with buttercream bandages and candy eyeballs. They’re easy, spooky-cute, and always a hit with kids and parties.
Ingredients
- Prepared gingerbread man shaped cutout cookies (12–18 cookies)
- Prepared buttercream, medium consistency (1 ½ cups)
- Black decorator icing (1 tube)
- Mini candy eyeballs (24–36 pieces)
- Gingerbread man cookie cutter (medium size, 3–4 inches)
- Decorator tip (1 tip, Wilton #104 or Ateco #45)
- Pastry bag (18 inch)
Instructions
- Fit your pastry bag (18 inch) with the decorator tip and fill with prepared buttercream.
- Use the black decorator icing draw a small football shape in the center of each prepared gingerbread man shaped cutout cookie.
- Place 2 mini candy eyeballs onto the black icing to form the mummy’s eyes
- Pipe strips of prepared buttercream across the cookie in different directions to create the mummy bandages.
- Smooth out any uneven edges of the bandages with a clean finger.
Notes
For best results, let the buttercream come to room temperature so it pipes smoothly without tearing. If the buttercream is too stiff, thin with 1–2 teaspoons of milk until it flows easily.
Use a clean finger or small offset spatula to smooth any uneven bandages after piping.
Practice piping a few bandages on parchment paper before starting on the cookies.
Store decorated cookies in a single layer in an airtight container at room temperature for 3–5 days. Freezing decorated cookies isn’t recommended, as the candy eyes and icing can lose their texture.
Undecorated cookies can be baked ahead, cooled completely, and frozen for up to 2 months. Thaw before decorating.
- Prep Time: 25 minutes
- Cook Time: 10 minutes
- Category: Dessert
- Method: Baking
- Cuisine: American


Comments
No Comments