Homemade Chocolate Popsicles are the perfect treat on hot Summer days. This recipe requires only 5 minutes prep, uses simple ingredients and has the most delicious chocolate flavor.

This was my first time making homemade popsicles and I couldn't believe how easy it was! My kids loved them. I purchased the recommended popsicle mold and it worked perfectly!
- Anna G.
Jump to:
Bailey's Thoughts ...
Our family eats dessert nightly. I always try to have a “sneaky-mostly-good-for-you” option available. Nine times out of ten, if I take the time to prepare something, it’s what they choose. My blueberry muffins? Gone in a day. Anything in a popsicle mold? Vanishes like magic.
I already know what you’re thinking: “Who has time to make homemade chocolate popsicles?”
I PROMISE—you do. The process is ridiculously simple. Warm the milk, melt the chocolate, stir it all together, pour, and freeze. That’s it. Truly, it takes me less time to make these than it does for my kids to argue over which store-bought frozen treat to pick.
The best part? They taste like a rich, creamy fudge pop but with real ingredients. No mystery syrups, no stabilizers—just milk, cream, sweetened condensed milk, cocoa powder, vanilla, and chocolate. Chances are, you already have everything you need.
Once you taste them, I really don’t think you’ll mind the five minutes it takes to whip them up.
-Bailey
Ingredients

Whole Milk: Choose whole milk for the creamiest texture. Avoid lower-fat options, as they can make the popsicles more icy.
Heavy Cream: Look for heavy cream (or heavy whipping cream) with at least 36% milk fat. This helps create a rich, smooth consistency.
Sweetened Condensed Milk: Grab a can of full-fat sweetened condensed milk. It adds sweetness and keeps the popsicles soft and creamy. Avoid evaporated milk - it’s not the same!
Semi-Sweet Chocolate Chips (or Chopped Chocolate): Use a good-quality semi-sweet chocolate (at least 50-60% cocoa) for the best flavor. If using a chocolate bar, chop it finely so it melts evenly.
Unsweetened Cocoa Powder: Choose unsweetened cocoa powder for a deep chocolate flavor. Dutch-processed cocoa will give a smoother, less acidic taste, while natural cocoa has a slightly stronger chocolate punch. Either will work!
Vanilla Extract: Use pure vanilla extract, not imitation.
Pinch of Salt: A tiny bit of salt balances the sweetness and deepens the chocolate flavor. Use fine sea salt or table salt for even distribution.
See recipe card for quantities.
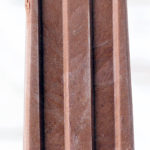
The Best Popsicle Molds
I have tried A LOT of popsicle molds. Some work better than others. I look for molds that make removing the popsicle once frozen easy. Here are my 2 favorites (affiliate links).
Note... the popsicle mold shown in the photos was used for aesthetics, but is not one that I would recommend for daily use. Metal popsicle molds make removing the popsicle more difficult than silicone or plastic versions.
- Zoku Classic Pop Molds - I love this popsicle mold for easy cleanup. The base is sturdy so I don't have to worry about the popsicles tipping over in the freezer. The sticks are "drip catchers" and reusable! I also appreciate that this mold is dishwasher friendly.
- Meetrue Silicone Pop Mold - I purchased this mold recently, and while I LOVE my ZOKU classic mold I think silicone makes it easier to release the popsicles. I also like that I can use wooden popsicle sticks so there are less parts to store/lose. Added bonus is that I can make 12 popsicles at a time.
Instructions

- Warm & Combine: In a saucepan over medium-low heat, warm the milk and cream, then whisk in the sweetened condensed milk until fully combined.

- Melt & Mix: Add the chocolate and cocoa powder, whisking constantly until the chocolate is melted and the mixture is smooth and glossy.

- Flavor & Cool: Remove from heat, stir in vanilla and salt, then let the mixture cool slightly before pouring into popsicle molds.

- Freeze & Serve: Insert popsicle sticks and freeze until solid. To release, run warm water over the molds for a few seconds before serving.
Top Tip
If you are having trouble removing your popsicles from your mold, run it under warm (not hot) water and gently wiggle the popsicle back and forth until it releases.
Substitutions
Popsicle Mold - if you don't have a mold, you can use paper dixie cups with popsicle sticks to make your pops. You will need to wait until the popsicles have been freezing for about 20 minutes and then add the sticks. You could also use a silicone muffin tin.
Whole Milk: Substitute with half-and-half for an even richer texture. If you prefer a lighter option, 2% milk can work, but the popsicles may be slightly less creamy.
Heavy Cream and Sweetened condenses Milk: There’s no good substitute for wither of these ingredients that will keep the same creamy consistency.
Semi-Sweet Chocolate Chips (or Chopped Chocolate): Use milk chocolate for a sweeter, milder flavor, or dark chocolate for a more intense chocolate taste. Avoid unsweetened chocolate.
Unsweetened Cocoa Powder: Swap with Dutch-processed cocoa powder for a smoother, slightly milder chocolate flavor. Both natural and Dutch-processed work in this recipe, so use what you have on hand.
Vanilla Extract: Replace with an equal amount of vanilla bean paste for a stronger vanilla flavor, or use almond extract for a slightly nutty twist (just use half the amount, as it’s more potent).
Pinch of Salt: No substitute needed—just don’t skip it!

Variations
Dairy-Free: This recipe depends on dairy for its creamy texture, so I recommend finding a highly rated dairy-free chocolate popsicle recipe instead. Look for one made with coconut milk or another creamy non-dairy base for the best results.
Gluten-Free: This recipe is naturally gluten-free! Just double-check that your chocolate chips don’t contain any hidden gluten additives.
Nut-Free: Already is!
Kid-Friendly: If your kids love chocolate pudding, they’ll love these popsicles. For a fun twist, swirl in a spoonful of peanut butter, Nutella, or crushed Oreos before freezing.
Extra Rich: Use dark chocolate (at least 70% cocoa) instead of semi-sweet for a deeper, more intense chocolate flavor. Adding a tablespoon of espresso powder enhances the chocolatey depth even more.
Lower Sugar: Reduce the sweetened condensed milk by half for a slightly less sweet treat. The texture will remain creamy, just with a more bittersweet chocolate taste.
Storage
Freezing & Preventing Freezer Burn: Once fully frozen, remove the popsicles from the mold and wrap each one individually in plastic wrap or parchment paper. Store them in an airtight container or a freezer-safe bag, pressing out excess air before sealing. This helps prevent freezer burn and keeps them fresh.
Shelf Life: These popsicles stay fresh for up to 3 months in the freezer. While they won’t go bad, the texture may become slightly icier over time.
Serving Tip: Let the popsicle sit at room temperature for 1-2 minutes before eating for the creamiest texture.
FAQ
Yes! You can use paper dixie cups or silicone muffin pans as your mold. Wait until mixture is about ½ frozen and insert a wooden popsicle stick.
Popsicles can freeze in 3-4 hours, but I prefer to allow them to freeze overnight.
Recipe

Best Homemade Chocolate Popsicles
- Total Time: 0 hours
- Yield: 6 (varies based on mold size) 1x
Description
Homemade Chocolate Popsicles are the perfect treat on hot Summer days. This recipe requires only 5 minutes prep, uses simple ingredients and has the most delicious chocolate flavor.
Ingredients
- 1 ½ cups (360ml) whole milk
- ½ cup (120ml) heavy cream
- ½ cup (160g) sweetened condensed milk
- ½ cup (85g) semi-sweet chocolate chips (or chopped chocolate)
- 2 tablespoons (12g) unsweetened cocoa powder
- ½ teaspoon (2.5ml) vanilla extract
- Pinch of salt
Instructions
- Warm & Combine: In a saucepan over medium-low heat, warm 1 ½ cups (360ml) whole milk and ½ cup (120ml) heavy cream, then whisk in ½ cup (160g) sweetened condensed milk until fully combined.
- Melt & Mix: Add ½ cup (85g) semi-sweet chocolate chips and 2 tablespoons (12g) unsweetened cocoa powder, whisking constantly until the chocolate is melted and the mixture is smooth and glossy.
- Flavor & Cool: Remove from heat, stir in ½ teaspoon (2.5ml) vanilla extract and a pinch of salt, then let the mixture cool slightly before pouring into popsicle molds.
- Freeze & Serve: Insert popsicle sticks and freeze until solid. To release, run warm water over the molds for a few seconds before serving.
Notes
Freezing & Preventing Freezer Burn: Once fully frozen, remove the popsicles from the mold and wrap each one individually in plastic wrap or parchment paper. Store them in an airtight container or a freezer-safe bag, pressing out excess air before sealing. This helps prevent freezer burn and keeps them fresh.
Shelf Life: These popsicles stay fresh for up to 3 months in the freezer. While they won’t go bad, the texture may become slightly icier over time.
Serving Tip: Let the popsicle sit at room temperature for 1-2 minutes before eating for the creamiest texture.
- Prep Time: 5 minutes
- Cook Time: O minutes
- Category: Dessert
- Method: Freezer
- Cuisine: American
Nutrition
- Serving Size: 1 Popsicle
- Calories: 235
- Sugar: 28 g
- Sodium: 448.8 mg
- Fat: 11.4 g
- Carbohydrates: 30.3 g
- Protein: 6 g
- Cholesterol: 21.2 mg
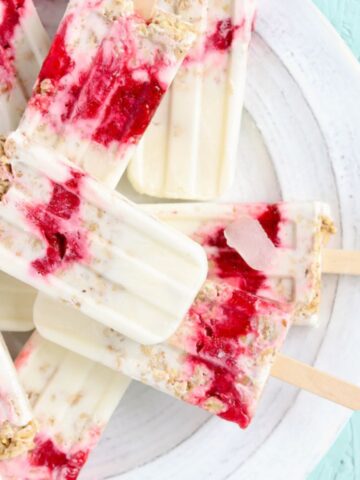
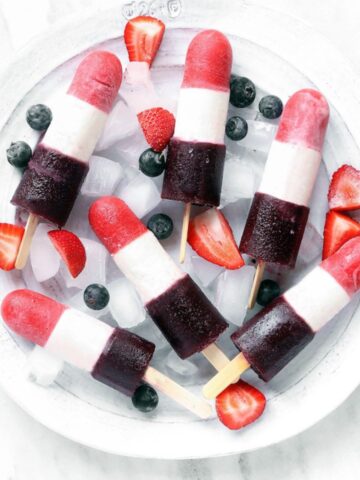
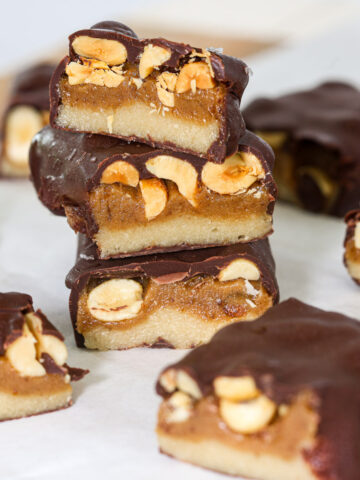
Related
Looking for other recipes like this? Try these:

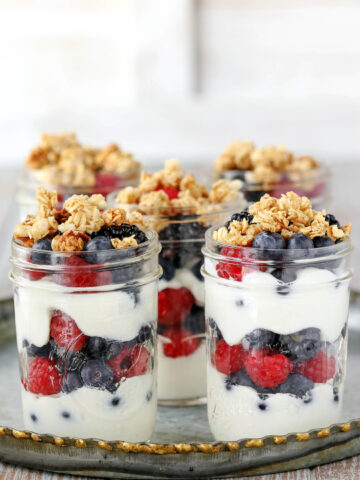
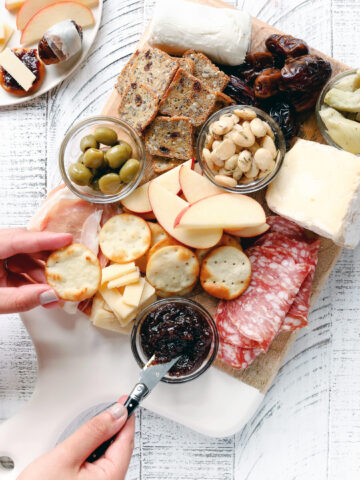
Pairing
Fun Summer recipes to serve BEFORE dessert!


Bethany
Yum! I loved fudgesicles when I was a kid!
Bailey Sissom
Me too! I definitely enjoy 1 or 2 from each batch along with the boys:)
Lauren @ Lemon & Mocha
These fudge popsicles look so delicious and easy! I might have to order some popsicle molds just so I can make them!
Bailey Sissom
It's definitely worth it! I love being able to bribe my kids to eat their dinner for a popsicle that's actually made from good for you stuff!!!